


Transferring videos from an iPhone to a PC can feel like trying to solve a Rubik’s Cube blindfolded. It shouldn’t be this complicated, right? Whether it’s that epic vacation footage or your cat’s latest antics, getting those videos onto a bigger screen is essential for sharing and editing.
Overview of Video Importing
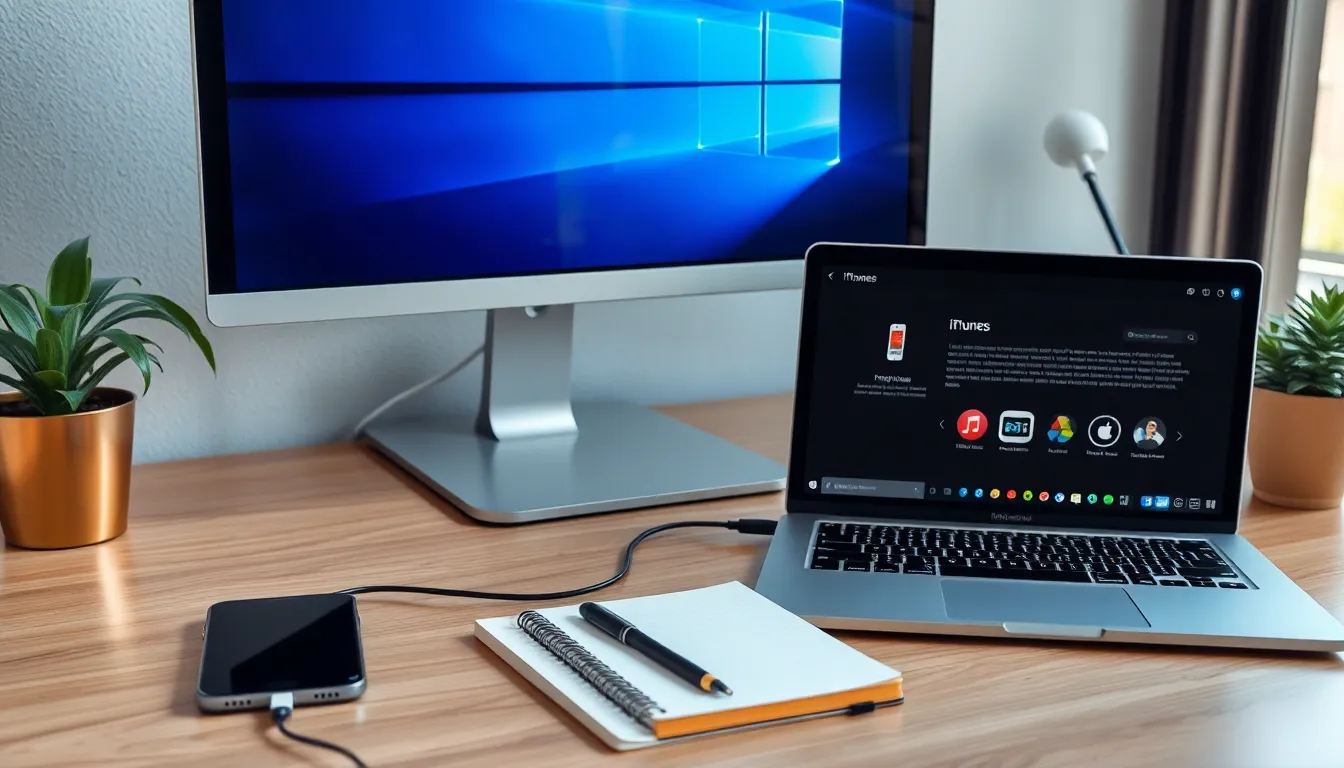
Importing videos from an iPhone to a PC involves several straightforward steps. First, users must connect the iPhone to the PC using a USB cable. After connecting, the device prompts a message that allows users to grant permission for the PC to access photos and videos. A crucial step involves selecting “Trust” on the iPhone, enabling the PC to recognize the device.
Next, users can utilize the Windows Photos app for video importing. Opening the app presents a user-friendly interface that guides them through the importing process. After selecting “Import” from the application, choosing the videos from the iPhone becomes necessary. It’s recommended to verify which videos are needed, as the app lists all available options.
Another method for importing videos is via File Explorer. This approach allows users to navigate directly to the iPhone under “This PC.” Locating the “DCIM” folder reveals all media files stored on the device. Users can then drag and drop selected videos to the desired location on the PC.
iCloud also simplifies the importing process. By enabling iCloud Photos on the iPhone, users can access their videos from the iCloud website on the PC. This method offers a wireless alternative, eliminating the need for cables.
Lastly, third-party applications such as iMazing or AnyTrans provide additional flexibility. These programs often come with enhanced features for managing files, making the import process efficient. Selecting the right method depends on personal preferences and available tools.
Preparation Steps
Importing videos from an iPhone to a PC requires a few important preparations. Following these steps ensures a smooth transfer process.
Checking Compatibility
First, confirm that the PC runs Windows 10 or later for the best experience. Ensure that iTunes is installed on the PC since it provides necessary drivers for iPhone connectivity. Verify that the iPhone uses the latest iOS version, as older versions might present compatibility issues. Checking the USB cable is also essential; a reliable cable prevents connection problems during import. Each of these components plays a critical role in ensuring seamless communication between devices.
Updating Software
Updating both the iPhone and the PC may eliminate potential glitches during the import process. To check for updates on the iPhone, navigate to Settings, select General, and tap on Software Update. Updating the PC involves going to Settings, selecting Update & Security, and checking for available updates. iTunes requires updates as well; open it, navigate to Help, and choose Check for Updates. Keeping all devices current resolves software conflicts, enhancing the overall importing experience.
Methods to Import Video
Several efficient methods exist for importing videos from an iPhone to a PC. Each method offers distinct advantages depending on user preferences and requirements.
Using USB Cable
Connecting the iPhone to a PC with a USB cable serves as one of the simplest methods. Users should unlock their iPhone and select “Trust” when prompted. The Windows Photos app makes importing seamless; it’s possible to open the app, select “Import” and then choose “From a USB device.” After that, users can select the videos they want to transfer. Alternatively, File Explorer provides a direct way to access the iPhone’s “DCIM” folder. Dragging and dropping videos from this folder into a PC’s designated storage location offers quick transfers.
Using iCloud
iCloud Photos presents a wireless option for transferring videos. Users need to enable iCloud Photos on their iPhone under Settings. After that, accessing the iCloud website on a PC allows users to view all their uploaded videos. Downloading files from the iCloud website is straightforward. Owners of large video collections may benefit from increasing their iCloud storage plan to ensure sufficient space for all their videos.
Using Third-Party Software
Third-party applications enhance the video importing experience significantly. Programs like iMazing and AnyTrans offer advanced features for managing iPhone content. Users can easily download and install these applications on their PCs. Once connected, the software displays a user-friendly interface for selecting and transferring videos. Many users appreciate the additional options offered by these tools, such as transferring videos in bulk or managing other file types alongside videos.
Troubleshooting Common Issues
Users may encounter several common issues while importing videos from an iPhone to a PC. Connection problems often arise if the iPhone doesn’t trust the PC. Tapping “Trust” on the iPhone screen resolves this issue, allowing access to files.
Another frequent problem relates to the USB cable. Using a non-certified or damaged cable can affect the connection. Trying a different cable might solve the import issues quickly.
Incompatibility between iTunes and Windows also causes troubles. Ensuring that both software versions are updated allows smoother connectivity. Checking for updates regularly helps maintain compatibility.
Storage capacity on the PC can hinder the import. Users should verify that enough space exists on the hard drive before starting the transfer. If space is limited, consider deleting unused files or transferring them to an external drive.
Importing via Windows Photos can sometimes malfunction. Closing the app and reopening it often refreshes the system, resolving minor glitches. If the app continues to falter, users can try restarting their PC to reset connections.
For those using iCloud for wireless transfers, internet connectivity is crucial. Weak Wi-Fi signals can slow or interrupt the download process. Ensuring a stable internet connection enhances the likelihood of successful video access and transfer.
Lastly, issues may arise from security software blocking transfers. Temporarily disabling antivirus software can allow for a smoother import process. Remembering to re-enable protection after the transfer ensures ongoing security.
By recognizing these common challenges, users can streamline their video import process and enjoy their media without frustration.
Tips for Successful Transfers
Ensure the iPhone is unlocked during the transfer process. This step helps prevent interruptions and allows the PC to connect seamlessly. Disconnect and reconnect the USB cable if issues arise, as this can refresh the connection.
Keep the PC’s operating system updated. Using Windows 10 or later increases compatibility and reduces potential glitches during the import process. Verify the iTunes version is recent, ensuring all necessary drivers are installed correctly.
Test different USB ports on the PC. Sometimes, certain ports may perform better than others. Choose a high-quality, certified USB cable to avoid connection difficulties.
Close any unnecessary applications on the PC before starting the transfer. Freeing up system resources can improve performance and prevent the import process from lagging. Restart the PC if the Windows Photos app doesn’t recognize the iPhone.
Utilize the latest iOS version on the iPhone. Updating the device not only enhances performance but also improves compatibility with the PC. Check iCloud settings to ensure iCloud Photos is enabled for users opting for wireless transfers.
Consider third-party applications for added flexibility. Applications like iMazing and AnyTrans streamline the process with features such as bulk transfers and advanced file management. Explore user reviews for insights on the best application for specific needs.
Prioritize stability when using iCloud. A reliable internet connection accelerates the import process, particularly with larger video files. Temporarily disable any security software if it interferes with transfers, as it can sometimes block access.
Transferring videos from an iPhone to a PC doesn’t have to be a daunting task. By following the outlined methods and tips, users can streamline the process and enjoy their videos with ease. Whether opting for a USB connection or leveraging iCloud, each approach offers unique benefits to suit different preferences.
Staying proactive by keeping software updated and using reliable cables can prevent common issues that may arise during transfers. With the right tools and a bit of preparation, users can easily manage their video files and enhance their overall experience. Embracing these strategies will ensure that accessing and sharing media becomes a seamless part of their digital routine.